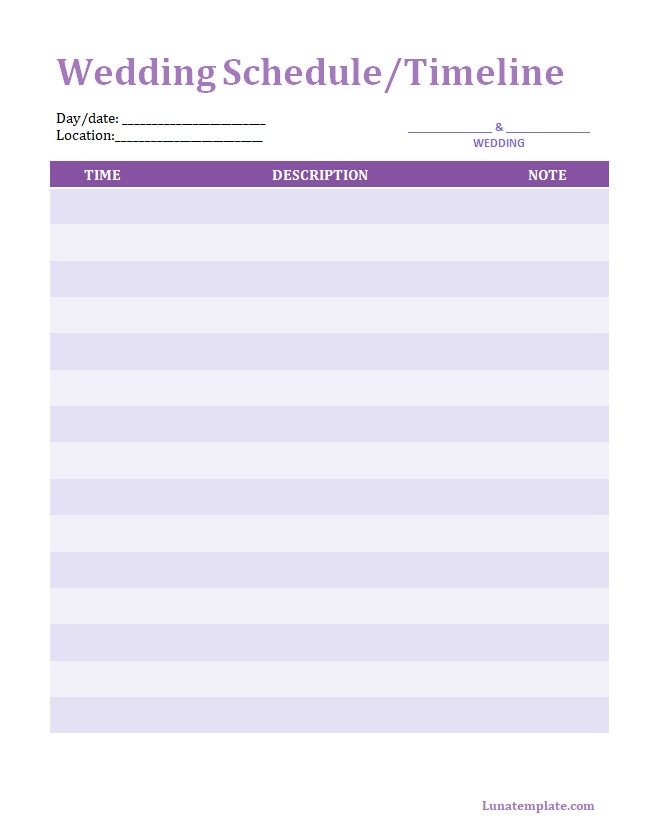
Your wedding day is one of the most important and memorable days of your life. It’s a day filled with love, joy, and celebration. But with so many moving parts and people involved, it’s easy for things to get chaotic and stressful. That’s why creating a detailed, hour-by-hour wedding day timeline is essential to ensure that everything runs smoothly.
In this article, we’ll discuss the importance of a wedding timeline, how to create one, provide a sample timeline, and offer some things to consider. By following these tips, you’ll be able to stay organized, stress-free, and on time on your special day.

The Importance of A Wedding Timeline
A wedding timeline serves as a guide for the entire day, from the moment you wake up until the last dance of the night. Having a well-planned timeline helps you stay organized and ensures that everything runs smoothly.
Here are a few reasons why a wedding timeline is important:
- Organization: A wedding timeline helps you keep track of all the important tasks and events throughout the day. It ensures that everyone involved knows where they need to be and when.
- Stress reduction: By planning out every detail in advance, you can alleviate stress and anxiety. Knowing that everything is scheduled and accounted for will help you relax and enjoy your day.
- Time management: Time is precious on your wedding day, and even a few minutes of delay can throw off the entire schedule. A timeline helps you stay on track and ensures that you have enough time for every aspect of your wedding.
- Vendor coordination: A well-structured timeline allows your vendors to plan and prepare accordingly. It helps them understand their roles and responsibilities, ensuring that they are in the right place at the right time.
Creating a wedding timeline may seem like a daunting task, but with careful planning and organization, it can be a smooth and enjoyable process.
How To Create Your Wedding Timeline
Creating a wedding timeline involves several steps, but with attention to detail and communication with your vendors, it can be a stress-free process. Here’s a step-by-step guide on how to create your wedding timeline:
1. Start Early
Begin creating your wedding timeline as early as possible. Ideally, you should start working on it at least three months before your wedding day. This will give you enough time to make adjustments and communicate with your vendors.
2. Consult with Your Vendors
Reach out to all of your vendors, including your wedding planner, photographer, caterer, and DJ, to discuss the timeline. They will have invaluable insights and suggestions based on their experience. Collaborating with them will ensure that everyone is on the same page.
3. Consider Your Ceremony Time
Start by determining the time of your ceremony. This will serve as the anchor for the rest of your timeline. Consider factors such as the duration of the ceremony, travel time between venues, and any religious or cultural traditions that need to be incorporated.
4. Allocate Time for Getting Ready
Getting ready on your wedding day is an important part of the experience. Allocate ample time for hair, makeup, and getting dressed. Remember to include time for pre-wedding photos and any special moments with your bridal party.
5. Plan the Reception
Decide how long you want your reception to last and work backward from there. Consider factors such as cocktail hour, dinner service, speeches, cake cutting, and dancing. Be sure to leave enough time for each activity and factor in transitions between them.
6. Account for Travel Time
If your ceremony and reception are at different locations, account for travel time. Consider the distance between the venues and the time it takes to transport your guests. It’s essential to allow enough time for everyone to arrive and settle in.
7. Create Buffer Time
Wedding days rarely go exactly as planned, so it’s important to build in some buffer time. Allow for a few extra minutes between each activity to account for any unexpected delays or last-minute changes.
Sample Wedding Day Timeline
Here’s a sample wedding day timeline to give you an idea of how to structure your own:
- 8:00 AM: Bride and bridal party hair and makeup
- 10:00 AM: Groom and groomsmen get dressed
- 11:00 AM: Bride gets dressed, pre-wedding photos
- 12:00 PM: Ceremony begins
- 1:00 PM: Cocktail hour and family photos
- 2:00 PM: Reception begins, dinner service
- 3:30 PM: Speeches and toasts
- 4:00 PM: Cake cutting and first dance
- 4:30 PM: Dancing and celebration
- 6:00 PM: Bouquet and garter toss
- 7:00 PM: Farewell and send-off
Things to Consider
When creating your wedding timeline, keep these important factors in mind:
- Photography: Discuss with your photographer the best time for capturing specific moments, such as the first look, sunset photos, and group shots.
- Weather: If your wedding is outdoors, consider the weather forecast and plan accordingly. Have a backup plan in case of rain or extreme heat.
- Guest experience: Ensure that your timeline allows for your guests to enjoy the day without feeling rushed. Consider their comfort and needs when planning activities and transitions.
- Breaks and downtime: It’s essential to schedule breaks and downtime for yourself and your bridal party. This will give everyone a chance to recharge and relax throughout the day.
- Communication: Communicate your timeline with all relevant parties, including your bridal party, parents, and vendors. Make sure everyone has a copy and understands their roles and responsibilities.
- Flexibility: Remember that your timeline is a guide, not a strict schedule. Be prepared to be flexible and make adjustments as needed.
By creating a detailed, hour-by-hour wedding day timeline, you’ll be able to stay organized, stress-free, and on time. It will ensure that your special day runs smoothly and that you can fully enjoy every moment. So, grab a pen and paper, start planning, and get ready for the wedding of your dreams!
Wedding Timeline Template – Word